

Squarespace tutorials
Owner & Designer at Studio La Terre! Here, you'll find tons of free tutorials & educational content to help you level up your websites and business.
Hi, I'm Bree!

SEO tips
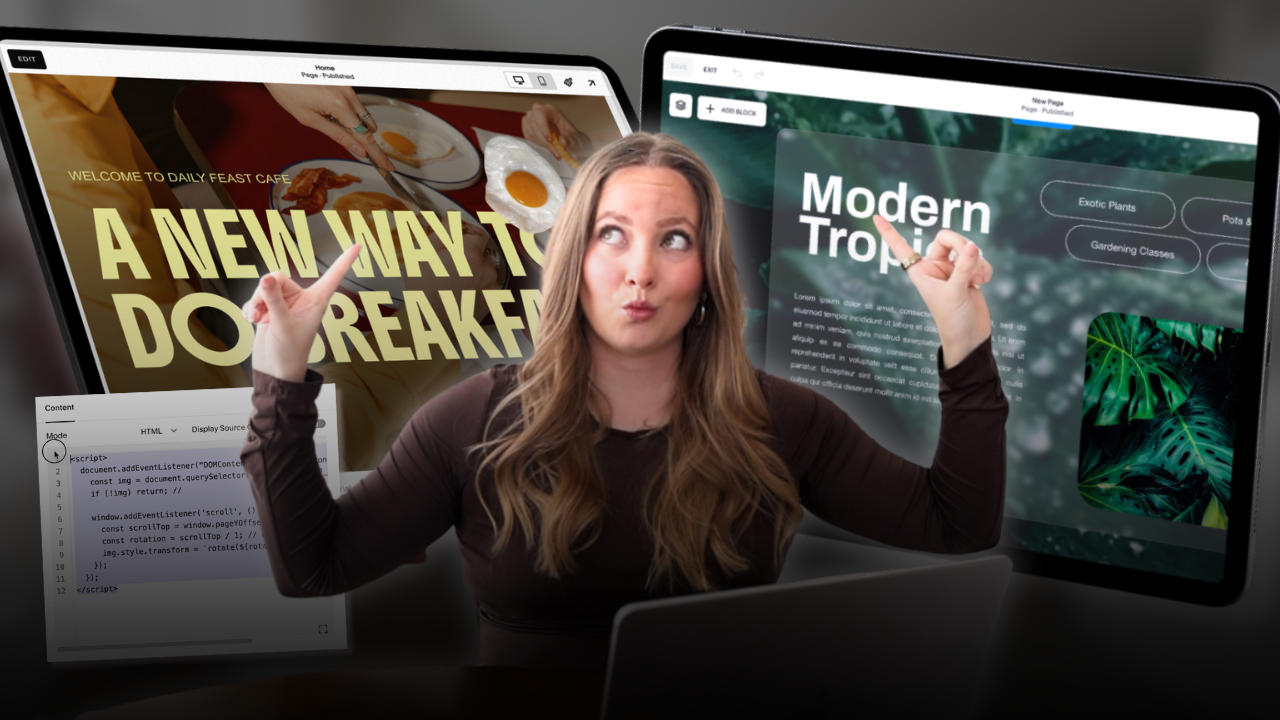
Showit Tutorials
If you’re new to Showit — or you’ve purchased a template and aren’t sure where to start — this walkthrough will show you exactly how to customize your website without touching code.
This guide covers how to navigate the Showit dashboard, edit pages and canvases, customize fonts and colors, work with images and buttons, and publish your site with confidence.
(Note: Blog setup is not covered here and is best handled in a separate tutorial.)
Showit Dashboard Overview
Once you log into Showit and open your site, you’ll see the site panel on the left-hand side. This is where you’ll manage everything related to your website.
From here, you can access:
- Site Settings
- Design Settings (fonts & colors)
- Media Library
- Pages
- Blog pages
- Canvases and canvas sets
This panel acts as your main control center.
Site Settings: Domains, SEO & Integrations
Inside Site Settings, you can edit:
- Site name
- Favicon
- Language
- Custom domain and vanity URL
- Blog domain
- Social links
- Third-party integrations
This is also where you’ll handle technical setup tasks like connecting your domain or adding tracking tools.
Design Settings: Fonts, Colors & Buttons
Color Palette
Showit’s color palette runs from darkest to lightest. Updating a color automatically updates anywhere that color is used.
You can:
- Paste in hex codes
- Use the color picker
- Drag sliders to adjust tones
Typography Styles
You can customize:
- Headings
- Subheadings
- Paragraphs
Each style includes settings for:
- Font family
- Color
- Size (desktop & mobile)
- Line height
- Letter spacing
- Alignment
- Margins
Uploading Custom Fonts
You can use:
- Google Fonts
- Custom uploaded fonts (must be .WAF format)
If your font isn’t already a WAF file, you’ll need to convert it before uploading.
Button Styles
Showit now includes native button settings (no more shape + text hacks).
You can set:
- Button colors
- Text colors
- Padding
- Borders
- Desktop vs mobile styles
These defaults can still be overridden on individual buttons later.
Media Library
The Media Library stores all images and assets used on your site.
You can:
- Upload files in bulk
- Organize images into folders
- Swap images directly from the editor
You can also upload images on the fly while editing.
Pages Overview & Page Management
Your Pages panel displays all pages on your site.
From the three-dot menu, you can:
- Rename pages
- Duplicate pages
- Copy pages to your blog
- Delete pages (⚠️ permanent — Showit has no trash folder)
💡 Tip: Duplicate pages or canvases instead of deleting them if you may need them later.
Adding Pages
Click the + icon to:
- Add a blank page
- Add a page folder
- Add pages from:
- Your current site
- Other sites in your account
- Showit’s template library
You can also apply your saved fonts and colors when adding new pages to save time.
Editing Pages & Canvases
Pages are made up of canvases (sections).
You can:
- Click directly on a canvas to edit it
- Drag and drop canvases to reorder them
- Toggle canvas visibility on desktop or mobile
- Duplicate, cut, or delete canvases
Canvases added from the library will appear at the bottom of the page but can be moved anywhere.
Canvas Settings (Right-Hand Panel)
Each canvas has its own settings, including:
Canvas Height
- Window height (fills the screen)
- Grow with content (ideal for galleries or long sections)
Sticky & Scroll Effects
Canvases can:
- Stick to the top or bottom
- Stick on scroll
- Create layered scrolling effects
Stacking Order
Controls which canvases appear on top of others — especially important for:
- Sticky sections
- Navigation
- Overlapping layouts
Navigation canvases should always have the highest stacking order.
Hidden to Start
Canvases can be hidden until triggered by:
- Click actions
- Scroll actions
This is commonly used for mobile menus or pop-ups.
Canvas Backgrounds & Animations
Each canvas background can be:
- A solid color
- An image
- A video
You can adjust:
- Image position
- Scaling behavior
- Opacity
- Background overlays
You can also add animations like fades or transitions to the entire canvas.
Canvas Views (Slides, Testimonials & More)
Canvas views are subsections within a single canvas.
They’re commonly used for:
- Testimonials
- Service descriptions
- About blurbs
- Image sliders
Key things to know:
- All canvas views share the same height
- Views can auto-advance
- Animations can differ by desktop vs mobile
- Views can be reordered or duplicated
You can trigger canvas views using:
- Scroll actions
- Click actions
- Auto-advance timing
Toolbar & Editor Controls
At the bottom of the editor, you’ll find:
- Desktop/mobile toggles
- Zoom controls
- Add-element tools
- Undo/redo
- Help & Showit resources
Elements you can add include:
- Text
- Images
- Shapes
- Buttons
- Galleries
- Videos
- Social grids
- Embedded code
Editing Elements (Text, Images & More)
Text Editing
You can customize:
- Font style and size
- Color
- Alignment
- Columns
- Uppercase/lowercase
- Inline links
Text can also be:
- Locked horizontally or vertically
- Centered to the canvas
- Stretched full-width
Click Actions
Any element can link to:
- Pages
- Canvases
- Canvas views
- URLs
- Social links
- Forms
Hover Effects & Animations
You can add:
- Color changes
- Opacity effects
- Underlines
- Font changes
- Transition timing
Advanced Settings
CSS and class selectors are available but optional — and not required for beginners.
Editing Images
For images, you can:
- Swap images from the media library
- Set fill vs contain
- Adjust image position
- Rotate images
- Resize freely
- Apply the same click, hover, and animation settings as text
Mobile vs Desktop Editing
Showit allows completely separate layouts for mobile and desktop.
You can:
- Hide elements on mobile or desktop
- Reposition content
- Simplify crowded layouts
This gives you full control over the mobile experience.
Site Canvases (Global Sections)
Site canvases sync across multiple pages.
Best uses:
- Headers
- Footers
- Testimonials
- Freebie opt-ins
- CTAs
Editing a site canvas updates it everywhere it’s used — saving tons of time.
Buttons & Gallery Settings
Buttons
Buttons can:
- Use global styles or custom styles
- Link to pages, canvases, or views
- Open in new tabs
- Submit forms
Galleries
Galleries allow you to:
- Reorder images
- Choose layouts (carousel, single image, etc.)
- Adjust spacing
- Enable auto-advance
Previewing & Publishing Your Site
Use Preview to see:
- Animations
- Scroll effects
- Responsive behavior
When you’re ready, click Publish to push all changes live to your domain.
Final Thoughts
Showit offers unmatched creative freedom without requiring code. Once you understand:
- Canvases
- Canvas views
- Site canvases
- Mobile vs desktop layouts
- Click & scroll actions
…you can confidently customize any Showit template to fit your brand.
Studio La Terre
© 2025 Studio La Terre
Privacy Policy
Terms & Conditions


Navigation
Resources
Connect
Return Policy
HOME
WEBSITE TEMPLATES
CANVA TEMPLATES
FLODESK TEMPLATES
BLOG
HOW IT WORKS
CUSTOMER SHOWCASE
CONTACT US
BECOME AN AFFILIATE
Let's Be Friends
TEMPLATE SUPPORT
